
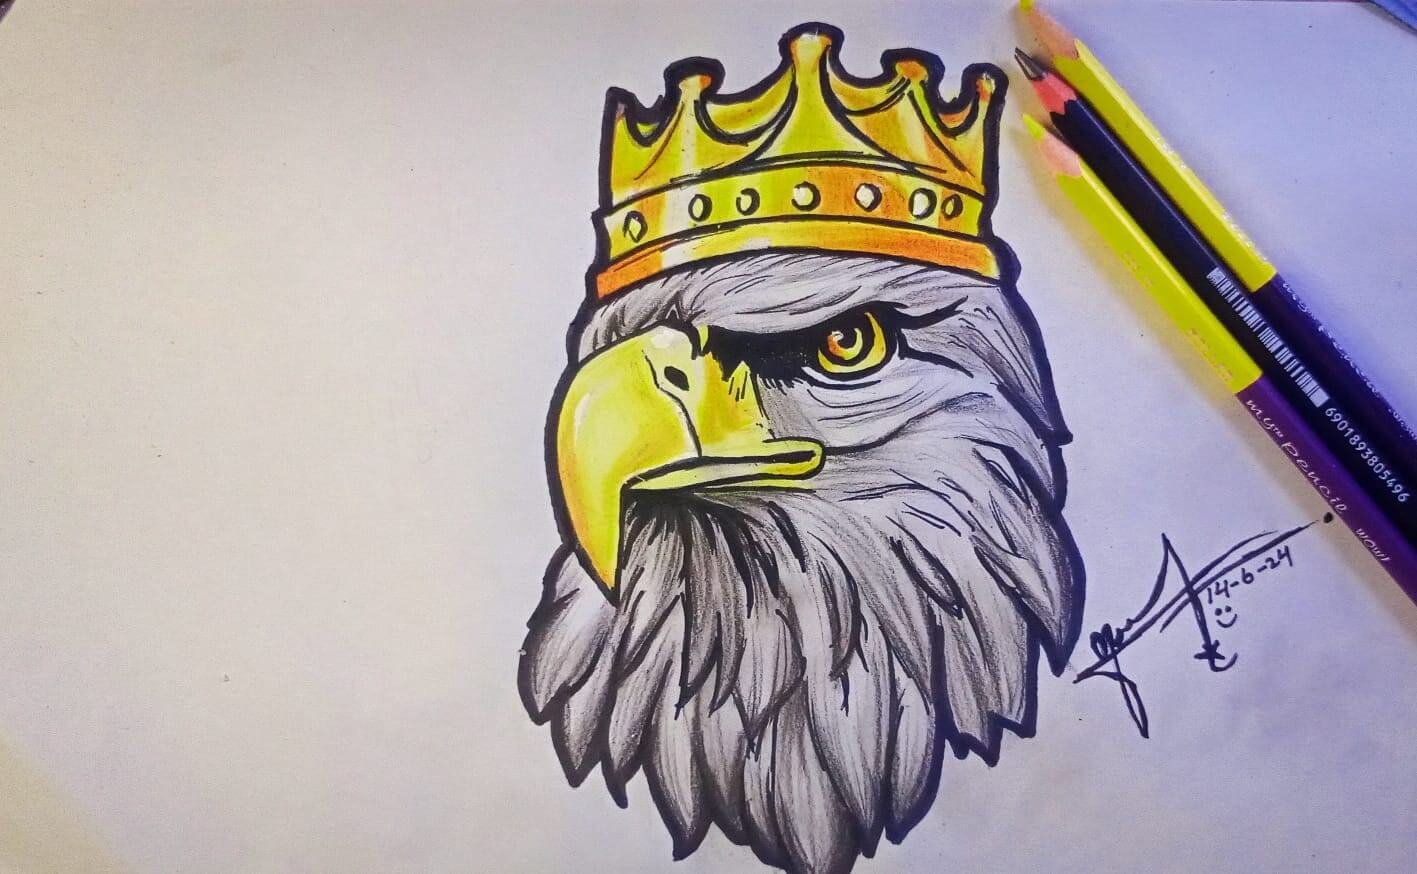
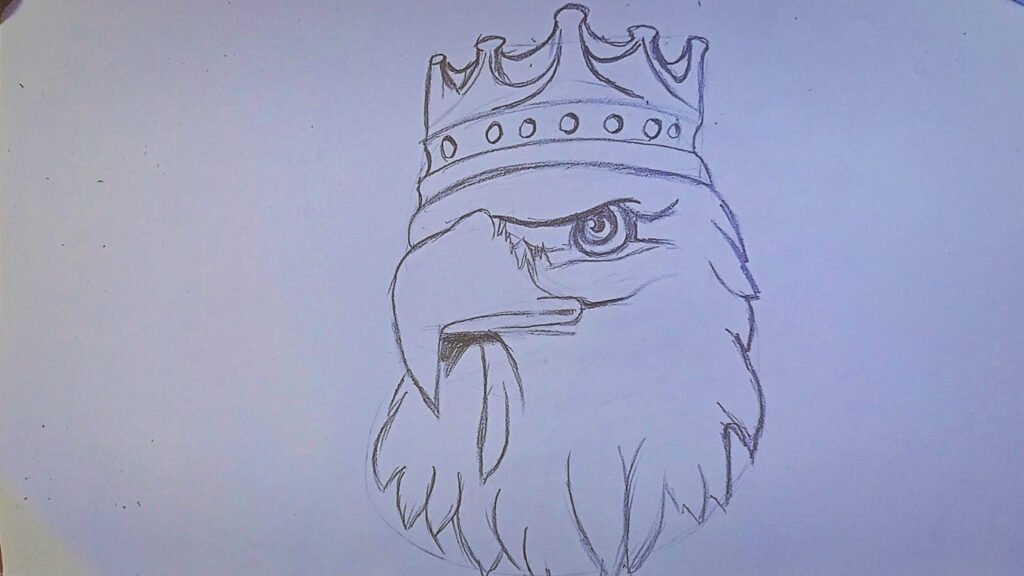
Introduction to Eagle Easy Drawing
Making an Eagle Easy Drawing can be a satisfying artistic endeavor if you attempt to capture the majesty of this powerful bird. To get started, gather your materials, which should include a reference image of an eagle, pencils, erasers, and paper. Sketch the fundamental shapes that will make up the falcon’s construction first. Form the body into an oval, the head into a smaller circle, and the beak and talons into guidelines. The wings can be added with long, curved lines for movement. Make the head and beak more refined by adding eye and feather details. Pay attention to the angles and proportions to keep things realistic. Begin with bigger quills on the wings and tail and more modest ones on the head and body to develop the surface of the plumes step by step.
Material expected to draw Eagle:
Drawing a falcon can be a thrilling imaginative test, and having the right materials is vital for accomplishing the best outcomes. Also try How to draw Easy Sketch of Lion. Here is a nitty-gritty rundown of materials you’ll need for eagle easy drawing and why each is significant for making a point-by-point and sensible hawk drawing:
1. Paper
- Type: Pick an excellent drawing paper that can endure deleting and various layers of concealment. Bristol board or significant-weight sketch paper is great.
- Size: A4 or bigger is prescribed to give you sufficient room to catch the bird’s complex subtleties.
2. Pencils
- Graphite Pencils: A scope of pencils from 2H to 8B. The harder pencils (H) are utilized for light lines and subtleties, while the gentler pencils (B) are for concealing and more obscure lines.
- Mechanical Pencils: Valuable for exceptionally fine subtleties, like the quills and the hawk’s eyes.
3. Erasers
- Massaged Eraser: Ideal for easing up regions and lifting graphite without harming the paper.
- Vinyl Eraser: For more exact deleting and eliminating dull pencil marks.
4. Sharpeners
- Manual Sharpener: Guarantees your pencils are in every case sharp for exact lines.
- Sandpaper Block: Helps in calibrating the pencil focuses, particularly valuable for point-by-point work
5. Mixing Devices
- Tortillons or Mixing Stumps: Fundamental for streamlining graphite and making slopes in concealing.
- Q-tips or tissues: valuable for more extensive mixing and relaxing shadows.
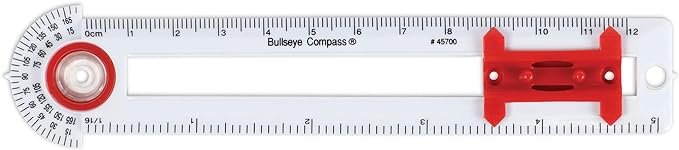
6. Rulers and Compasses:
Ruler: Helps in defining straight boundaries and keeping up with extents.
Compass: useful for drawing exact circles, similar to the eyes.
7. References
- Photos or Delineations: top-notch pictures of falcons for reference. These assist in understanding the life systems, feather examples, and extents.
8. Light Box (Discretionary)
- A light box can be helpful for following starting representations or refining your drawing without eradicating the first lines.
9. Fixative Shower
Last Touch: Utilize a fixative shower to safeguard your drawing from smearing. Make a point to shower in a very well-ventilated region and adhere to the directions on the can.
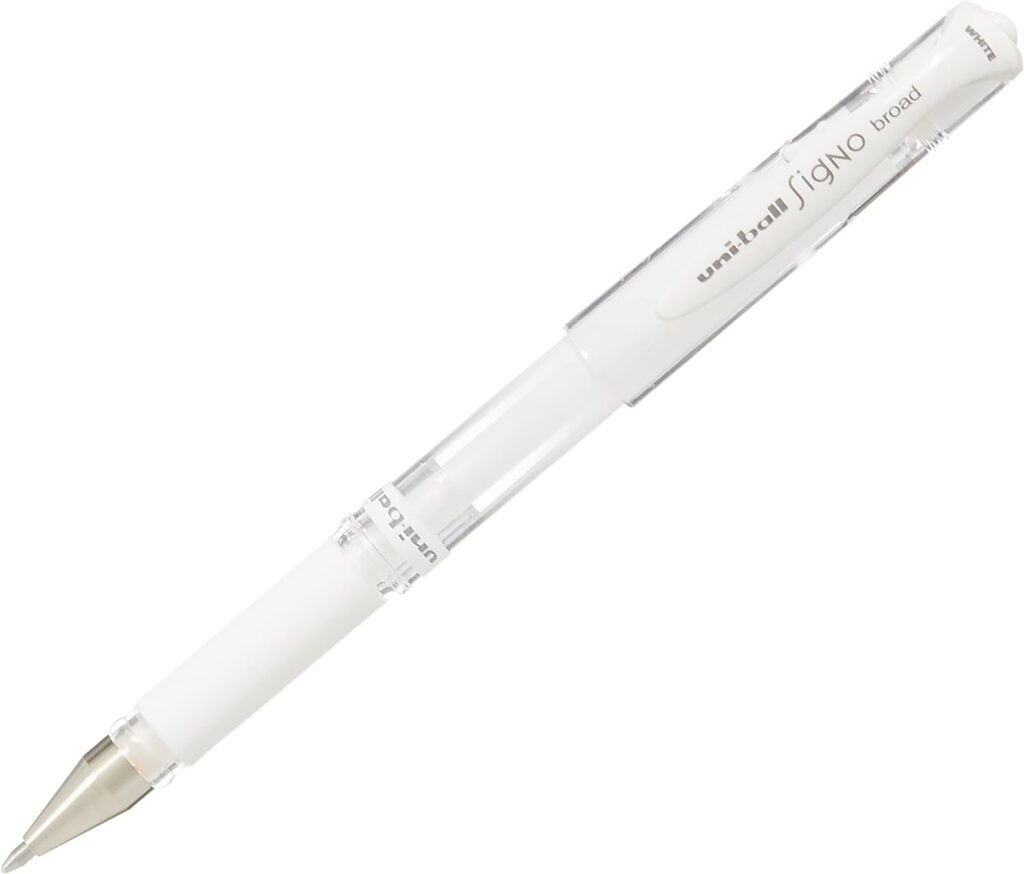
10. Extra Instruments
- White Gel Pen or White Pencil: For adding features and last contacts to make your drawing pop.
Shaded Pencils or Watercolors (Discretionary):
If you need to add tone to your bird drawing, these materials can be utilized for a blended media approach.
Drawing Cycle Outline for eagle easy drawing:
Beginning Representation:
Begin with light, fundamental shapes to frame the bird’s body, head, and wings.
Specifying:
Continuously add subtleties, zeroing in on the bill, eyes, and plume designs. Utilize your reference pictures to guarantee exactness.
Concealing:
Develop layers of concealment to create profundity and authenticity. Utilize your mixing instruments to smooth changes and add surface.
Refining:
Consistently refine your drawing, eradicating superfluous lines and upgrading subtleties.
Final details:
Add the last features and fixative shower to safeguard your work.
By having these current materials, you’ll be able to make a dazzling and sensible drawing of a hawk. Each device assumes a pivotal role in various phases of the drawing system, from the underlying representation to the last overshadowing and itemizing.
Step By Step, Working:
Making an itemized eagle easy drawing requires cautious preparation and execution. Here is a bit-by-bit manual to help you through the cycle, from social occasion materials to adding the final details.
Stage 1: Setting up
- Select Reference Pictures: Pick clear, high-goal pictures of birds to use as references. Search for different points to comprehend the bird’s life systems and quill designs.
- Set up your work area: Guarantee you have great lighting and an agreeable region to work in. Put together your materials so they are effectively available.
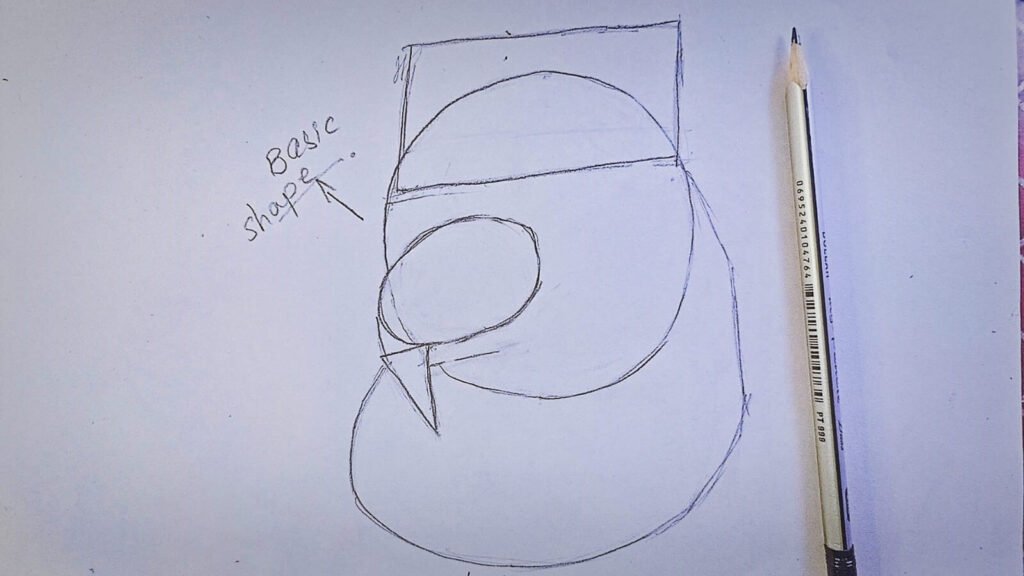
Stage 2: Beginning Representation
- Essential Shapes: Utilizing a light 2H pencil, start by portraying the fundamental shapes. Draw an oval for the body, a more modest circle for the head, and rules for the wings and tail. Keep your lines light, as these will be refined later.
- Extents: Check the extents of the shapes against your reference picture. Change the sizes and positions on a case-by-case basis. Utilize a ruler to gauge key distances to guarantee precision.
Stage 3: Fostering the Framework
- Head and Mouth: Spotlight on the head and snout first. Draw the nose’s shape precisely, noticing its arch and length. Add the eyes; they are evenly positioned to guarantee they.
- Body and Wings: Blueprint the body of eagle easy drawing, focusing on the regular progression of the plumes. Sketch the wings in a resting or flying position, contingent upon your reference picture.
- Claws and Tail: Add the claws, focusing on their size and position. Sketch the tail feathers, taking note of their length and game plan.

Stage 4: Adding Subtleties:
- Feathers: Start enumerating the quills. Begin with the bigger quills on the wings and tail, then move to the more modest plumes on the head and body. Utilize short, speedy strokes to mirror the surface of plumes.
- Face and Eyes: Refine the eyes, adding understudies and reflections to give them life. Detail the snout, adding surface and concealing it to recommend its hardness.
Stage 5: Concealing and Surface:
- Light Source: Settle on a light source course to avoid practical overshadowing of your eagle easy drawing. This will assist you with figuring out where to put features and shadows.
- Layering: Begin concealing delicately with a 2B pencil, developing layers progressively. Utilize more obscure pencils (4B to 8B) for more profound shadows.
- Mixing: Use tortillons or mixing stumps to streamline the overshadowing. Q-tips can assist with mixing larger regions. Keep up with the surface of the quills while mixing to try not to lose subtleties.

Stage 6: Refining the Drawing:
- Delete Pointless Lines: Utilize the massaged eraser to lift any excess rules. The vinyl eraser can eliminate more difficult lines.
- Improve Subtleties: Keep refining the subtleties. Add more surface to the quills and inconspicuous concealment to the claws and snout.

Stage 7: Last Contacts:
- Features: Utilize a white gel pen or white pencil to add features. This can draw out the sparkle in the eyes and add an aspect to the quills.
- Generally Differentiation: Change the difference by extending shadows and lighting up features. This will make your drawing more unique and sensible.

Stage 8: Protection:
- Fixative Shower: Once happy with your drawing, utilize a fixative splash to shield it from smearing. Hold the splash around 12 inches away from the paper and apply a light, even coat. Allow it to dry completely.
- Survey: Investigate your drawing. Make any somewhat late changes if essential. Contrast it with your reference picture, which guarantees precision and detail.
Extra Tips:
Practice regularly:
Drawing is an expertise that improves with training. Consistently sketch various pieces of the falcon to refine your method.
Concentrate on life systems:
Understanding the bird’s life systems can assist you with drawing all the more precisely. Focus on muscle design and a quill plan.
Try different things with mediums:
While graphite pencils are magnificent for definite work, trying different things with hued pencils or watercolors can add another aspect to your drawings.By following these means and rehearsing consistently, you’ll have the option to make a dazzling and reasonable drawing of a hawk. Each phase of the cycle, from the underlying portrayal to the last contacts, is essential to catching the great magnificence of this bird.
Concentrate on References:
Utilize great photographs of falcons to comprehend their life systems, feather examples, and stance. Examine various points to get a handle on the extent and extraordinary qualities of the bird.
Begin with essential shapes:
Start by drawing fundamental shapes to frame the hawk’s construction. Use ovals for the body and head and straightforward lines for the wings and tail. This lays out the extent of the general creation.
Center around Extents:
Give close consideration to the extents of the falcon’s body parts. The head, snout, wings, and claws ought to be precisely measured and situated relative to one another. Utilize a ruler to quantify separates and guarantee evenness.
Detail the elements:
When the fundamental shapes are set up, begin adding subtleties. Characterize the snout, eyes, and claws with accuracy. The snout ought to have a sharp bend, and the eyes ought to be furious and alert.
Feather Surface:
Plumes are pivotal for authenticity. Utilize short, speedy strokes to mirror the surface. Start with the bigger quills on the wings and tail, then add the more modest plumes on the body and head. Focus on the heading of the quills for a characteristic look.
Concealing and Profundity:
Concealing adds profundity and aspect to your drawing. Decide on a light source and shade in a similar manner. . Mixing apparatuses like tortillons and q-tips can assist with streamlining the overshadowing.
- Featuring: Adding features upgrades the three-layered impact. Utilize a white gel pen or a white pencil to feature the eyes, nose, and portions of the plumes that catch light.
- Delete Rules: When the fundamental subtleties are finished, cautiously eradicate any leftover rules with a plied eraser. This ties up the drawing and zeros in consideration of the refined subtleties.
- Last Contacts: Constantly refine the subtleties and change the overshadowing. Contrast your drawing with the reference picture and make essential remedies.
What to stay away from during bird drawing:
Making a sensible and dazzling cause of a hawk includes being cautious to notice detail and procedure. Nonetheless, there are a few normal entanglements that craftsmen ought to keep away from to guarantee their work arrives at its maximum capacity. This is what to keep an eye out for:
Disregarding Extents:
One of the most essential parts of drawing a hawk is getting the extents right. Try not to make the head too enormous or the wings excessively short. Use reference pictures and measure key distances to keep up with exactness.
Skirting the Fundamental Shapes:
Hopping straight into enumerating without illustrating essential shapes can prompt a twisted and uneven drawing. Begin with straightforward mathematical structures to delineate the falcon’s design prior to adding mind-boggling subtleties.
Exhausting the Drawing:
A lot of concealing or inordinate specifying can make your drawing look sloppy and lose its freshness. Work steadily, developing layers of concealment, and step back infrequently to evaluate your advancement.
Disregarding Quill Examples:
Plumes are a characterizing element of a falcon, and overlooking their regular examples can bring about a ridiculous drawing. Concentrate on how the quills lay and stream, and utilize short, controlled strokes to emulate their surface.
Level Overshadowing:
Try not to conceal with just a single pencil grade. Utilizing a single shade of dark can make your drawing look level. Utilize a scope of pencils (from 2H to 8B) to make profundity and aspect. Focus on the light source to portray shadows and features precisely.
Ignoring the Eyes:
The eyes are the point of convergence of any hawk drawing. Try not to make them inert or inappropriately measured. Guarantee they have a sharp, extreme look by adding reflections and profundity to cause them to seem enthusiastic.
Abusing Erasers:
Unnecessary eradicating can harm the paper and leave undesirable imprints. Plan your strokes and utilize a light touch at first to limit the requirement for weighty eradicating.
Absence of Work:
A hawk drawing requires practice and tolerance. Try not to get put down by beginning disappointments. Customary practice helps in grasping life systems and working on your method.
Disregarding Reference Pictures:
Memory or the creative mind can prompt errors. Continuously utilize excellent reference pictures to direct your work and guarantee authenticity.
By staying away from these normal errors and zeroing in on cautious perception and procedure, you can altogether improve the quality and authenticity of your falcon drawing.
Frequently Asked Questions (FAQs):
1. What materials do I have for eagle easy drawing?
You will require great drawing paper, a scope of graphite pencils (from 2H to 8B), a mechanical pencil for fine subtleties, erasers (plied and vinyl), a sharpener, mixing devices (tortillons, q-tips), a ruler, and reference pictures of birds. Alternatively, you can use hued pencils or watercolors for a blended media approach.
2. How would I begin a bird drawing?
Start with essential shapes to frame the falcon’s design. Use ovals for the body and head and straightforward lines for the wings and tail. This lays out the extents and generally structure. Begin gently, so you can, without much of a stretch, adapt.
3. How might I guarantee the extents are right?
Utilize a reference picture and measure key distances with a ruler to guarantee precise extents. Analyze the size of the head, mouth, wings, and claws relative to one another. Routinely step back and evaluate your drawing against the reference.
4. What is the most ideal way to draw feathers?
Plumes ought to be drawn with short, controlled strokes to impersonate their surface. Begin with bigger quills on the wings and tail, and add more modest plumes on the head and body. Focus on the heading and layering of quills as found in your reference picture.
5. How might I use practical overshadowing?
Decide on a light source and utilize a range of pencils from light (2H) to dull (8B) to make inclinations. Apply light strain for lighter regions and increase tension for heavier regions. Mix the concealing with tortillons or q-tips to smooth changes and add profundity.
6. How would I make the eyes look practical?
The eyes ought to have a sharp, extreme look. Guarantee they are evenly positioned, and add reflections to give them life. Utilize hazier pencils to add profundity and lighter pencils or a white gel pen for features.
7. What normal missteps would it be advisable for me to stay away from?
Abstain from disregarding extents, exhausting the drawing, level overshadowing, and avoiding the utilization of reference pictures. Moreover, don’t disregard feather designs and abstain from abusing erasers to avoid harming the paper.
8. How might I protect my completed process of drawing?
Utilize a fixative splash to safeguard your drawing from smearing. Apply the splash in a very well ventilated region, holding the can around 12 cm from the paper, and shower with a light, even a coat. Permit it to dry totally prior to taking care of the drawing.
By keeping these rules and keeping away from normal missteps, you can work on your abilities and make a shocking hawk drawing. Normal practice and meticulousness are critical to achieving sensible and noteworthy outcomes.
Conclusion
Drawing a falcon requires a mix of cautious perception, persistence, and practice. By beginning with fundamental shapes and zeroing in on precise extents, you establish a strong starting point of your eagle easy drawing. Tender loving care, particularly in the eyes and plumes, adds authenticity and profundity. Stay away from normal entanglements like workaholic behavior, level overshadowing, and overlooking reference pictures, as these can reduce the general nature of your work. Utilize a range of concealing methods to enhance and rejuvenate your bird. Customary practice and a sharp eye for detail will, bit by bit, work on your abilities. By refining your methodology and learning from your mistakes, you can catch the great magnificence of a bird in your craftsmanship. At last, the way in to an effective bird-attracting strategy lies in an equilibrium of strategy, precision, and creative articulation of your eagle easy drawing.