Introduction
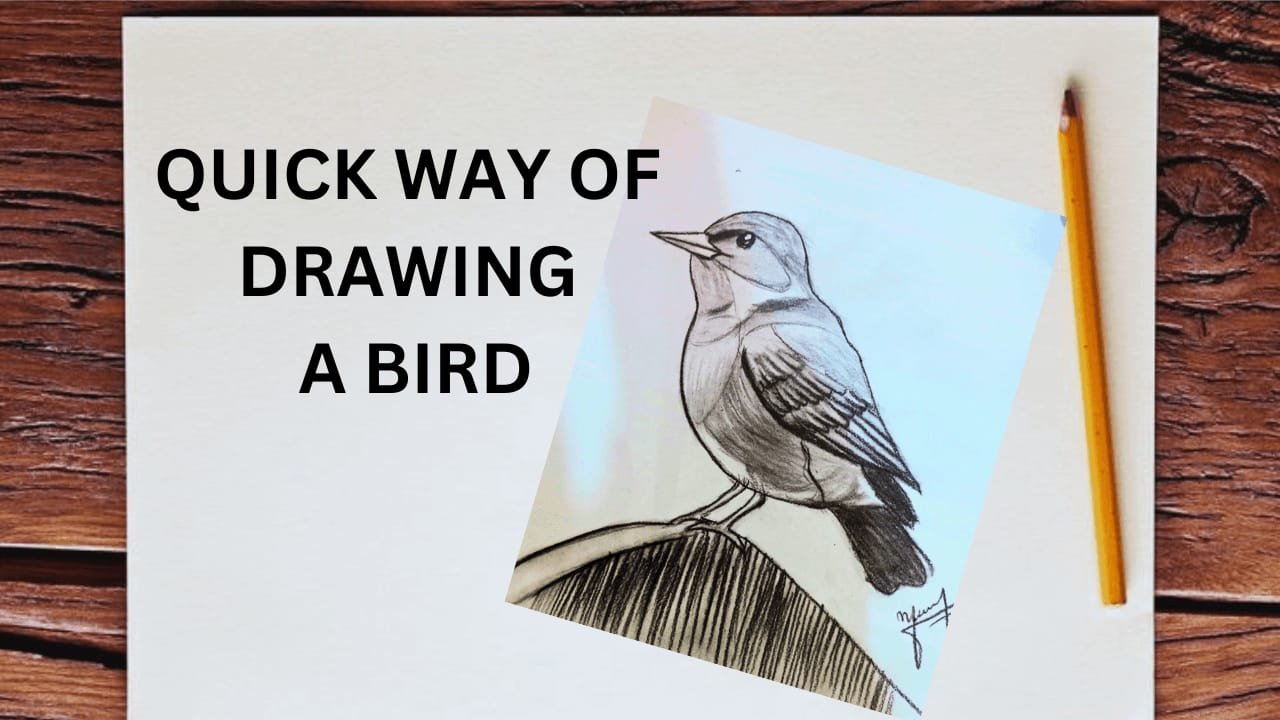
Whether you are new to drawing or just honing your skills, drawing a bird can be a fun and relaxing thing to do! Drawing a bird is easy with a few simple techniques. This guide will explain the materials you will need and provide step-by-step instructions for sketching a simple bird. You’ll leave this tutorial with a beautiful sketch in addition to more confidence in your drawing skills. This tutorial guide is helpful for all levels of artists, whether you are practicing for a hobby or improving your skills for complex drawings. Also read How to Draw a Dolphin
Video Tutorial
Materials Required
Before you start to outline a simplistic bird, you will need basic materials that are easy to find and inexpensive. Here’s the essential list:
Paper
The outcome of your drawing can be changed by the type of paper you use. For a beginner, a simple sketching paper (80–100 gsm) is perfectly fine. Choose Bristol board if you want a hotter, smooth surface for finer detail work. Before starting, make sure your paper does not have any wrinkles.
Pencils
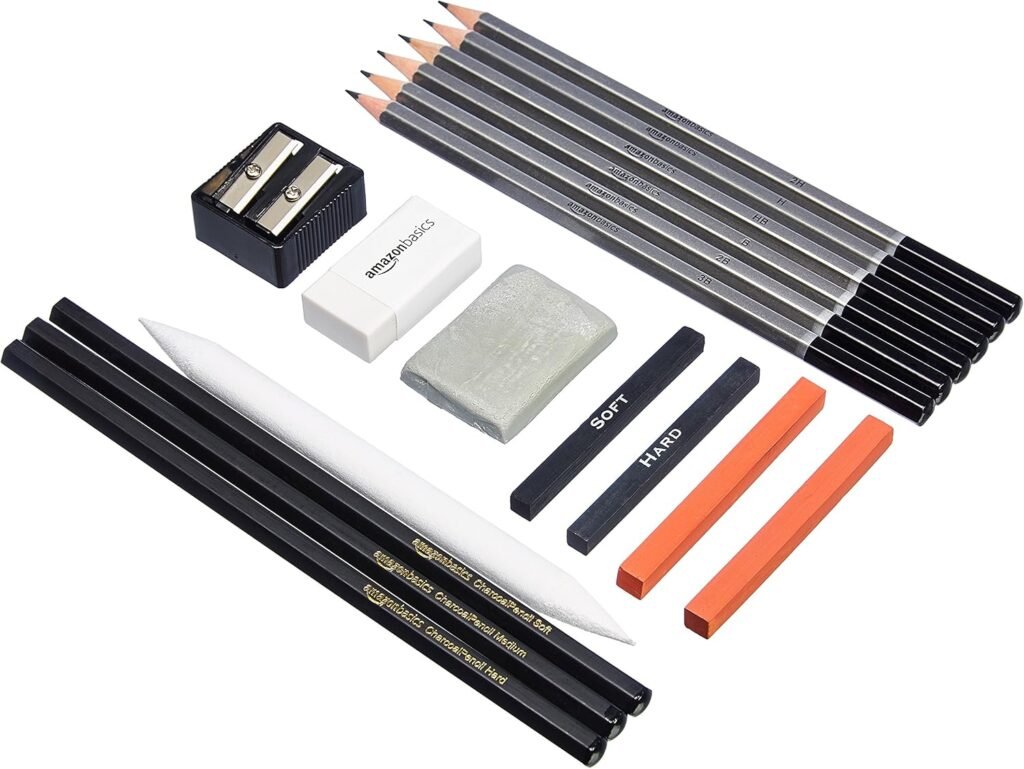
- As you will be doing shading and detailing, you will need a set of graphite pencils with different hardness.
- H or 2H pencils are great for light sketching and outlines.
- HB also holds up nicely for medium lines.
- Pencils from 2B to 6B are useful for shading and finer details with darker, softer lines. Having a variety of pencils helps you control how light or dark your lines and shading are.
Erasers
- When drawing, it is helpful to use two types of erasers:
- Kneaded eraser: Ideal for lightening parts of a drawing, highlighting areas, or erasing marks without damaging the paper.
- Rubber eraser: Used for removing heavier lines and broad areas.
Blending Stumps or Tortillons
They are small paper tools that are rolled and used to smooth pencil lines and make soft transitions in shading. They aid in mixing slate to land your feathered friend looking more natural and modern.
Sharpener
To keep your pencil tips sharp for precise drawing and getting into tiny spaces, you need a good quality sharpener. A handheld sharpener or mechanical pencil sharpener does the job nicely.
Ruler (Optional)
Although it is not always necessary, finding measurement proportions might help when working with basic shapes you can draw with a ruler.
Colored Pencils or Watercolors (Optional)
If you want to color your bird drawing, add some color with colored pencils or watercolor paints. If you want a more realistic effect, use colored pencils to appropriately shade and give a light wash with watercolors.
Reference Images
It is also very important to have a reference image of the bird you are going to draw. You can look for images of birds online, or if you are drawing a particular bird, it is good to find photos from books or reputable online sources. A reference will help you nail down the proportions and features of the bird.
Tracing Paper (Optional)
You can use tracing paper if you need to trace your original sketch or iterate so that you do not have to start from scratch. This is not required, but it can help you improve the drawing process.
By having these materials prepared in advance, the drawing process can be much smoother and more enjoyable. With your materials squared away, you will be ready to start sketching your bird.
Step-by-Step Working
Step 1: Draw the Basic Shape
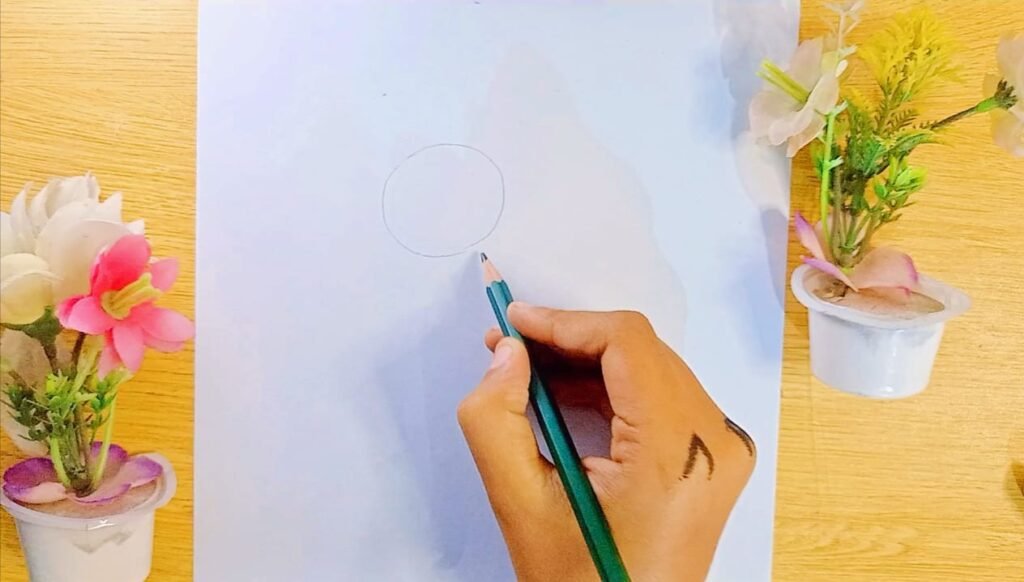
Start by drawing the basic shapes that form the bird’s body. Draw a small oval for the head and a larger oval or ellipse for the body. These simple shapes will allow you to plot the proper proportions and structure. Draw a very light line through the middle of each shape to help with symmetry.
Step 2: Now, we need to create the basic body and wing shape.
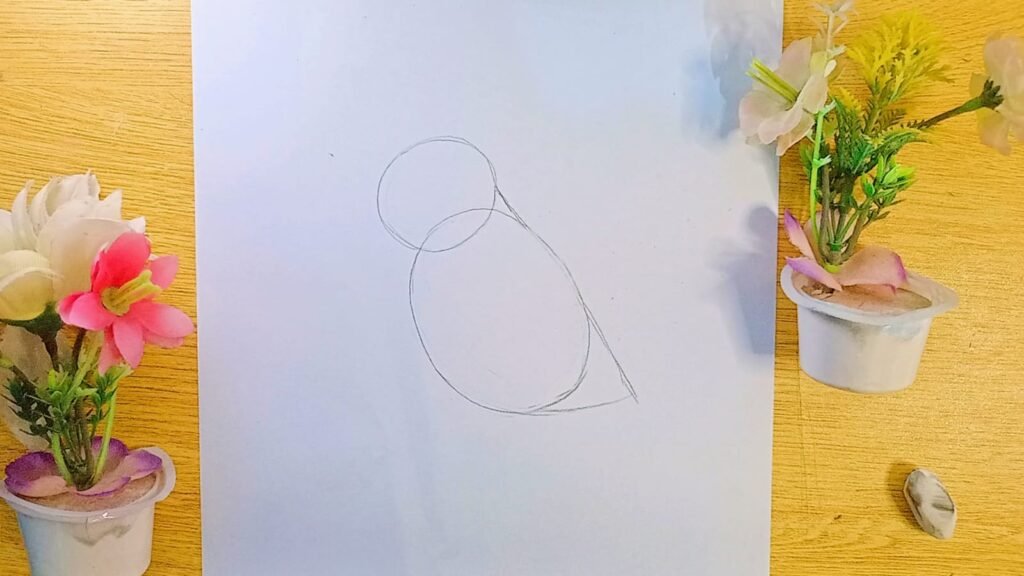
Then lightly sketch some guidelines. Extension from the head to the body, it should be with a curved line to follow the shape of the bird. This will serve as the bird’s backbone. Draw two long, curved lines above and below the body for the wings. Don’t fret about details; just get the proportions right.
Step 3: Create the Shape of the Bird
Once you have the basic shapes set, you can use them to start drawing the actual outline of the bird body. For the head, adjust the oval into a circle and add a small beak in the front. Form the curves for the tail, wings, and body gently. When you are satisfied with the outline of the body, erase the first oval guides. Step 5: Add those details in the tail feathers and similarly the wings, soft and a little bit curved.
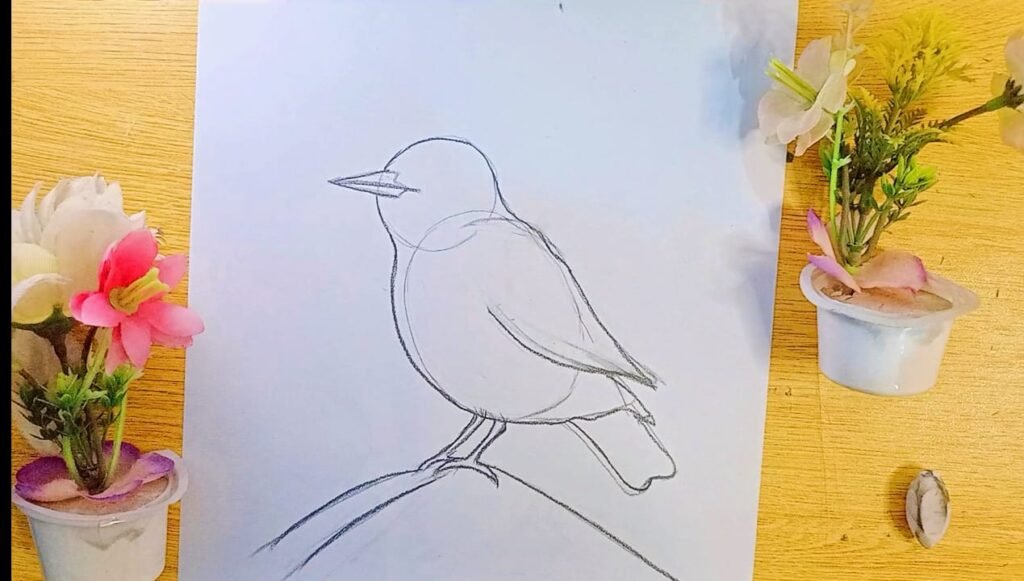
Step 4: Form in Eyes, Beak, and Legs
Now you can start tuning up the details. Make a small circle or oval for the eye, and have it positioned a little towards the front of the head. Draw the beak just underneath the eye, small and triangular. For the legs, draw two skinny lines beneath the body. Draw small lines for the toes to add little feet. We don’t want to overcomplicate everything at this stage—we just want to nail the positioning.
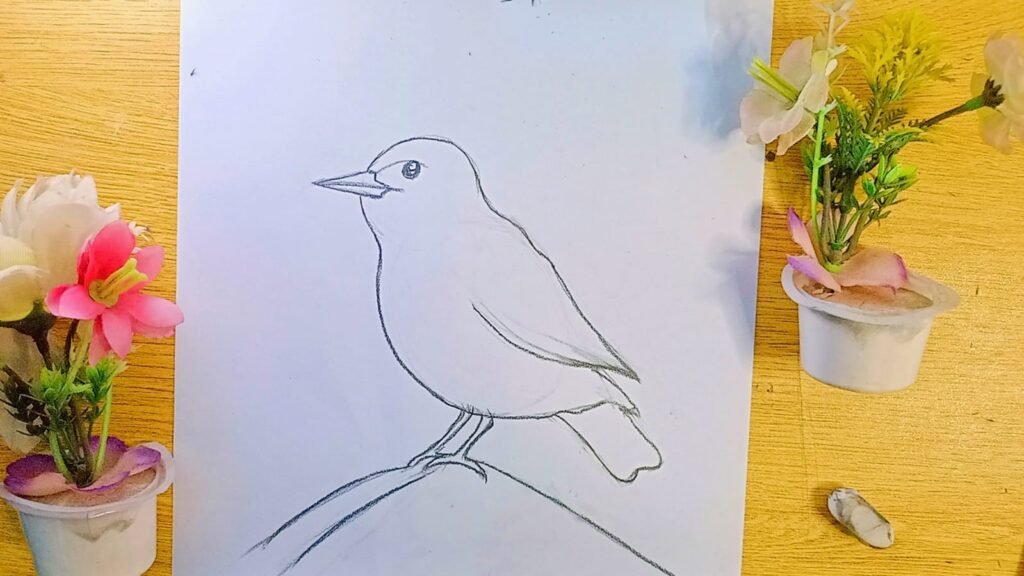
Step 5: Add More Detail to Wings and Feathers
So you can start to put in some feather detail around the bird’s wing. Begin at the top with the feathers that are long and primary and make long, curved lines. Then add the longer feathers more slowly, with shorter feathers layered underneath. Make the tail long and thick with lots of hair; for this time we will add some texture lines.
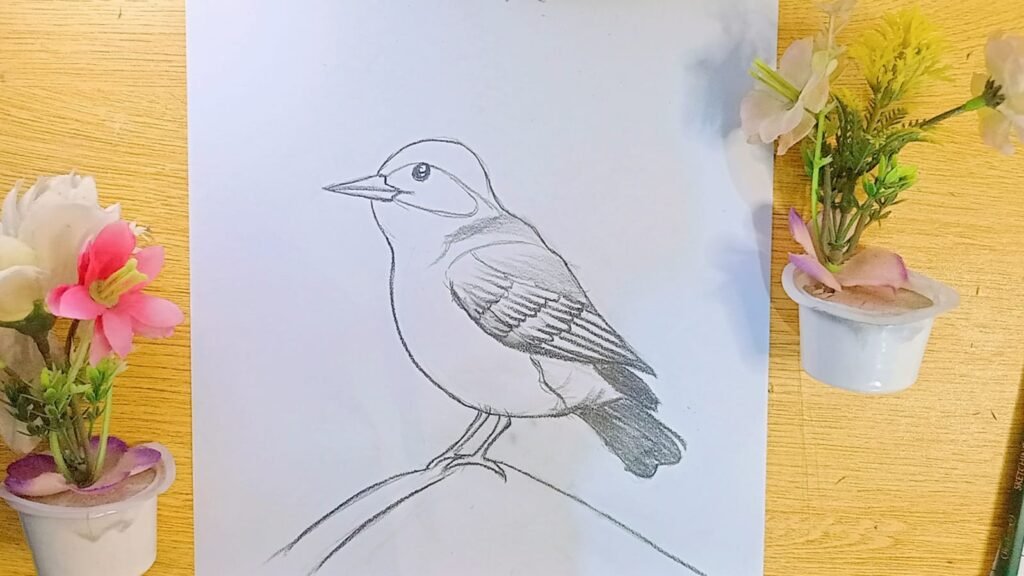
Step 6: Shade the Bird’s Body
After the details, start shading the bird to create depth. Use a slightly softer pencil (2B or 4B) in darker areas, like the underside of the bird’s wings and body. For the feathers, use a soft pencil to create subtle gradients and blend everything with a blending stump. Try to leave lighter areas (for contrast) where they would catch light (for example, on the top of the bird’s head).
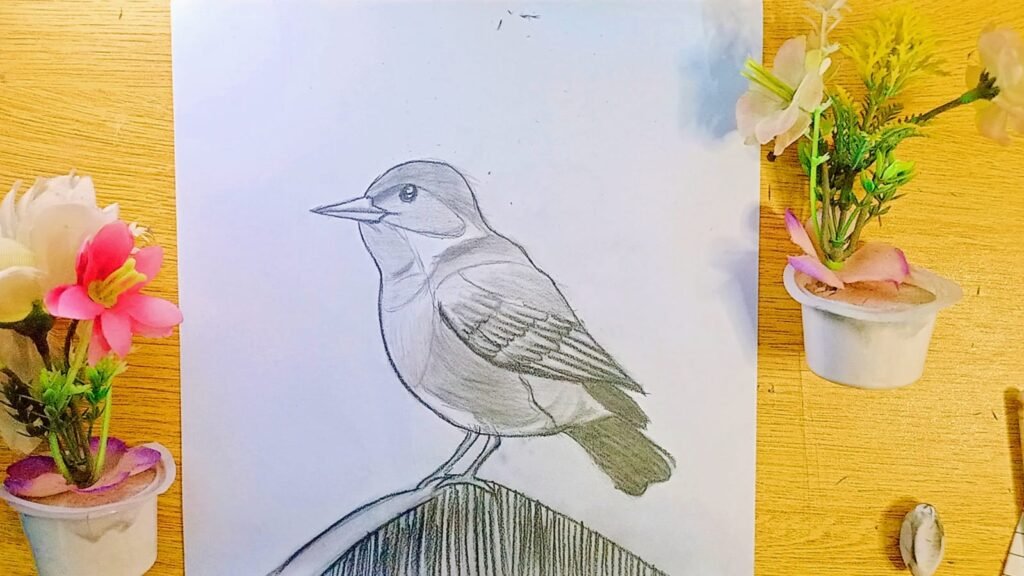
Step 7: Build in Texture and Finish Details
This allows you to add realistic texture, so you can lightly short-stroke these at the body to achieve a feathered effect. The more detail you add, the more realistic the bird will become. Notice details such as the bird’s nostrils, small feather lines around the neck, and the texture of the beak and feet. Apps to Zoom Zoom in on All Leveling up วาดปีกเป็นสโกรลไอเดียขอทาน Tier 3Also take time to refine the shading around the legs and wings.
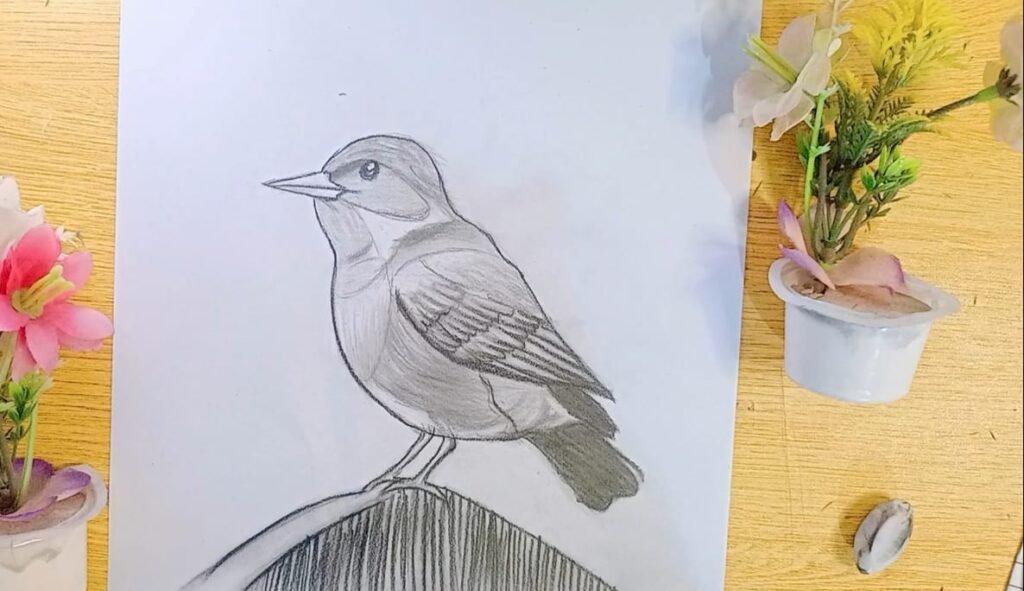
Step 8: Final Touches
Take a look at your drawing and sharpen anything that’s lacking a bit of definition. Finish shading in spots on the wings, tail, and beak. For color, lightly pencil in some color to add definition to the feathers. Once you are happy, erase around the eye of the bird to make it stand out and add a little more depth to the feathers. Just like with any other artwork, strive to have a good balance of light and dark with your drawing so that it will be pleasing to the eye.
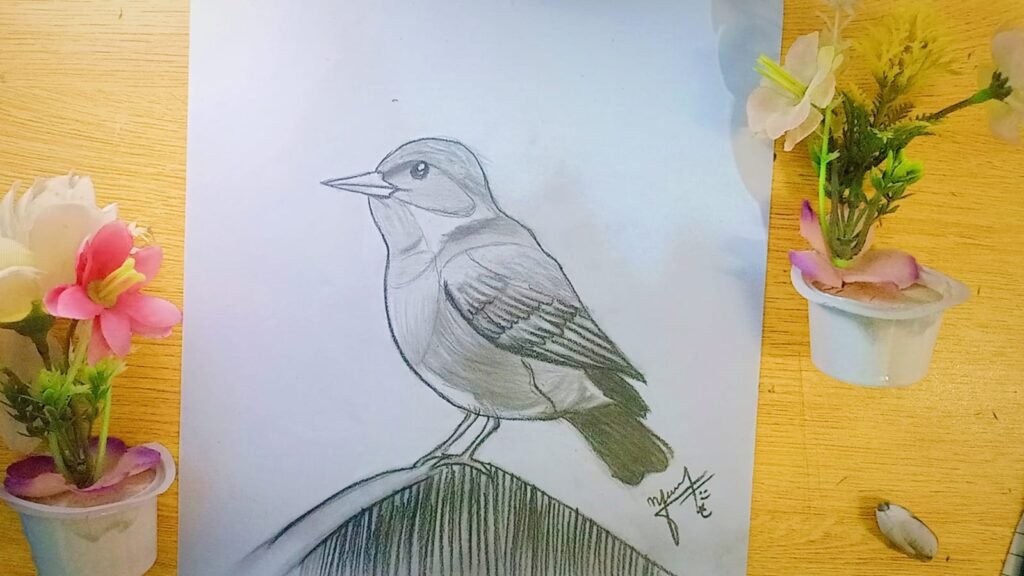
Tips for Perfect Sketch
Use Light Pencil Strokes
Draw Your Light Pencil OutlineFirst, outline your bird very lightly with pencil. This allows for easy erasure or adjustment without leaving scuff marks on the page.
Work in Layers
Yes, that’s right, build your drawing up little by little, adding detail at every second. It can begin with basic shapes, outlining, then shading and textures.
Pay Attention to Proportions
Nail the proportions at the start. Use reference images and practice measuring to properly size your bird’s head, body, and wings.
Practice Shading Techniques
Try a variety of shading techniques such as cross-hatching and blending. This will create more texture in your bird and give it a more 3D effect.
Use a Reference Image
So, when you draw, a reference image to look at will make sure you understand the bird’s structure, position, and details. This helps keep the drawing proportionate and true to life.
Focus on Texture
Use short, curved pencil marks to suggest feathers; this will help give your bird a more natural appearance. This imparts a soft, realistic feel to the bird.
Take Your Time
Take your time with the drawing process. Spend time leaving things just a bit rough around the edges and adding the details and texture. With time and patience, the bird sketch becomes beautiful.
Step Back and Evaluate
Regularly view your drawing from a step or more away. It allows you to identify mistakes and things that can be improved.
What to Avoid During Drawing
Be Careful Not to Press Too Hard with the Pencil
A heavy hand can lead to dark, harsh lines that are difficult to erase. During the first few layers of sketching and shading, keep your pressure light. You can always add darker sections later.
Don’t Skip Basic Shapes
Forgetting about the basic shapes or guidelines will result in a disparity in proportions. For drawing the body of the bird, first get the shapes of figures handy to make it easier in further drawing.
Avoid Rushing the Details
It takes time and patience to add fine details, such as feathers and shading. Don’t rush through this stage, because it’s important to get the texture and depth right.
Don’t Overuse the Eraser
An eraser comes in handy for making corrections, but if used too much, it can wear down on the paper or take away too much graphite. When using the eraser, do so lightly and only with small areas in need of correction.
Avoid Drawing Too Small
It’s hard to put all the details if you draw your bird too small in size. You want to keep your drawing as large as you can, even to see details.
Don’t Skip Practice
You are not going to draw a bird just right the first time. But the best way to improve is to keep drawing different birds!
Conclusion
Both are fun and rewarding in their own rights. Simple bird sketch tutorial for beginners Bird sketch tutorial for kids. You can develop your skills rapidly by using the step-by-step guide, practicing shading, and improving your details. All that matters in drawing is patience and practice, so take your time, practice to your heart’s content, and don’t fear mistakes. With practice, you’ll soon be capable of composing impressive, realistic bird sketches to show off. Keep at it, and soon your sketches will soar with incredible realism!
