
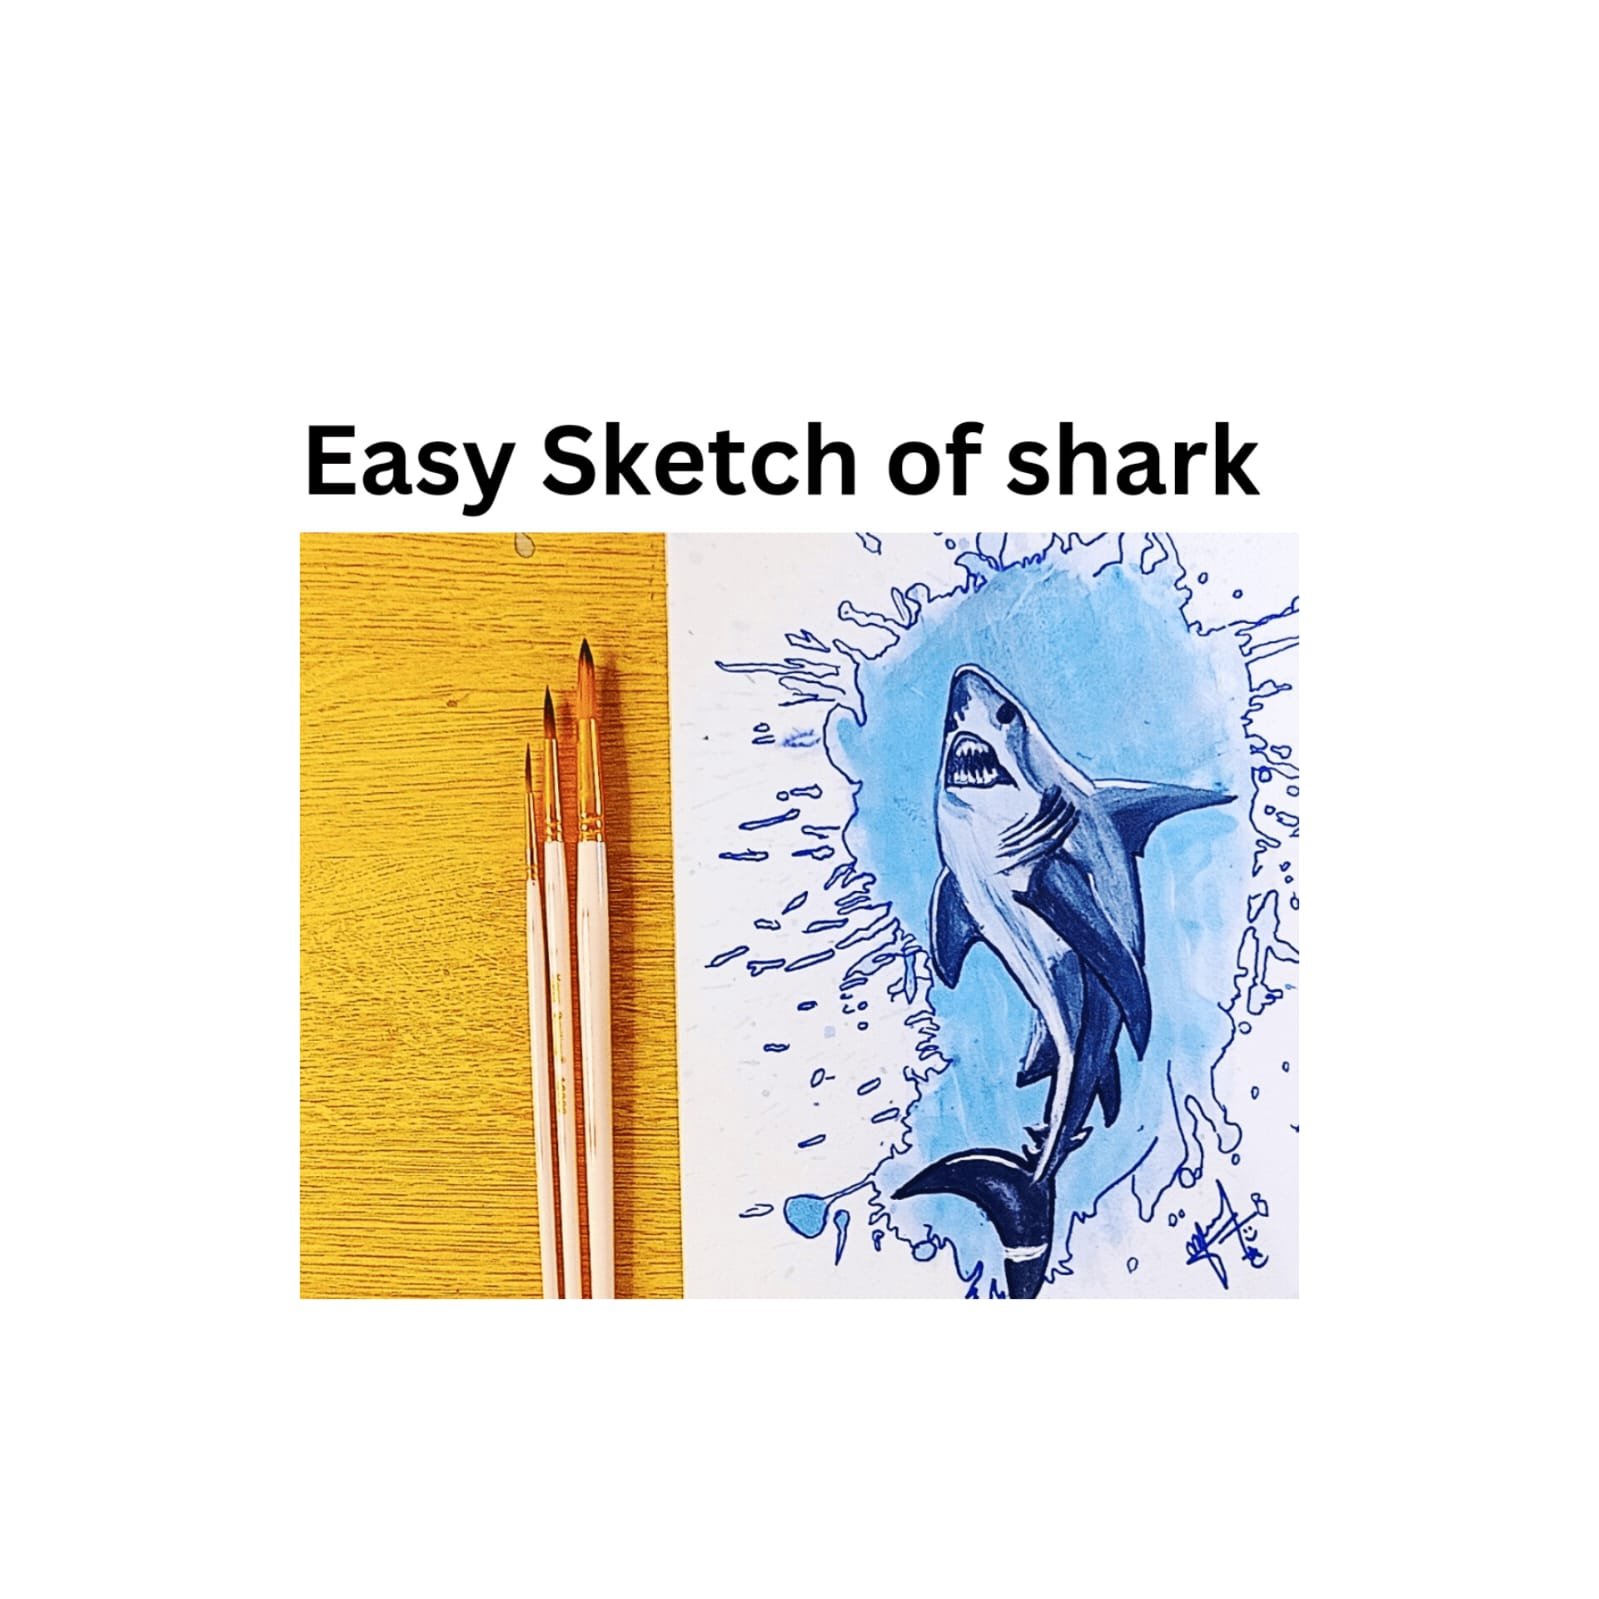
Introduction to Easy shark drawing
Drawing a shark an be a captivating and enchanting development, ideal for gifted experts of all ages and strength level. Whether you’re a juvenile or a created ace, making a reasonable or improvement like a shark drawing can be an uncommon method for exhibiting your creativity. With its smooth, streamlined body and express concordance, a shark is a charming subject that gets the creative psyche. This guide will walk you through an unquestionable little push toward the go cycle to draw a shark, disengaging the tangled shapes into reasonable parts. All you really need are some key drawing supplies, a bit of confirmation, and a status to investigate. By following these major undertakings, you’ll have the choice to make a stunning shark drawing that you can be thankful for. Also raed How to make Easy sketch bunny
Materials Required for Drawing a Shark
Making an enamoring shark drawing is a tomfoolery and connecting with movement that can be delighted in by craftsmen, everything being equal. To accomplish the best outcomes, having the right materials on hand is fundamental. Here is a definite rundown of materials you’ll require for drawing a shark, whether you incline toward utilizing conventional pencil strategies or adding a sprinkle of variety with watercolor and pencil tones.
Fundamental drawing supplies
- Drawing Paper:Pick excellent drawing paper that can deal with various drawing methods. A smooth surface is great for pencil drawings, while a somewhat finished paper functions admirably for watercolor and shaded pencils.
Pencils: - Graphite Pencils: A scope of graphite pencils (HB, 2B, 4B, and 6B) will assist you with accomplishing differing levels of obscurity and detail in your shark drawing.
Mechanical Pencil: For scarce differences and complicated subtleties, a mechanical pencil with a 0.5mm or 0.7mm lead can be exceptionally valuable.
Erasers:
- Manipulated Eraser: Ideal for delicately lifting graphite and making features without harming the paper.
- Vinyl Eraser: Incredible for eradicating bigger regions and accomplishing spotless, fresh lines.
- Sharpener:
A decent-quality pencil sharpener is crucial for keeping your pencils sharp and prepared for point-by-point work.
Shading Supplies
- Watercolor Set: A fundamental arrangement of watercolors will permit you to add lively shades to your shark drawing. Pick a set with a decent scope of varieties, including blues and grays, for sensible overshadowing.
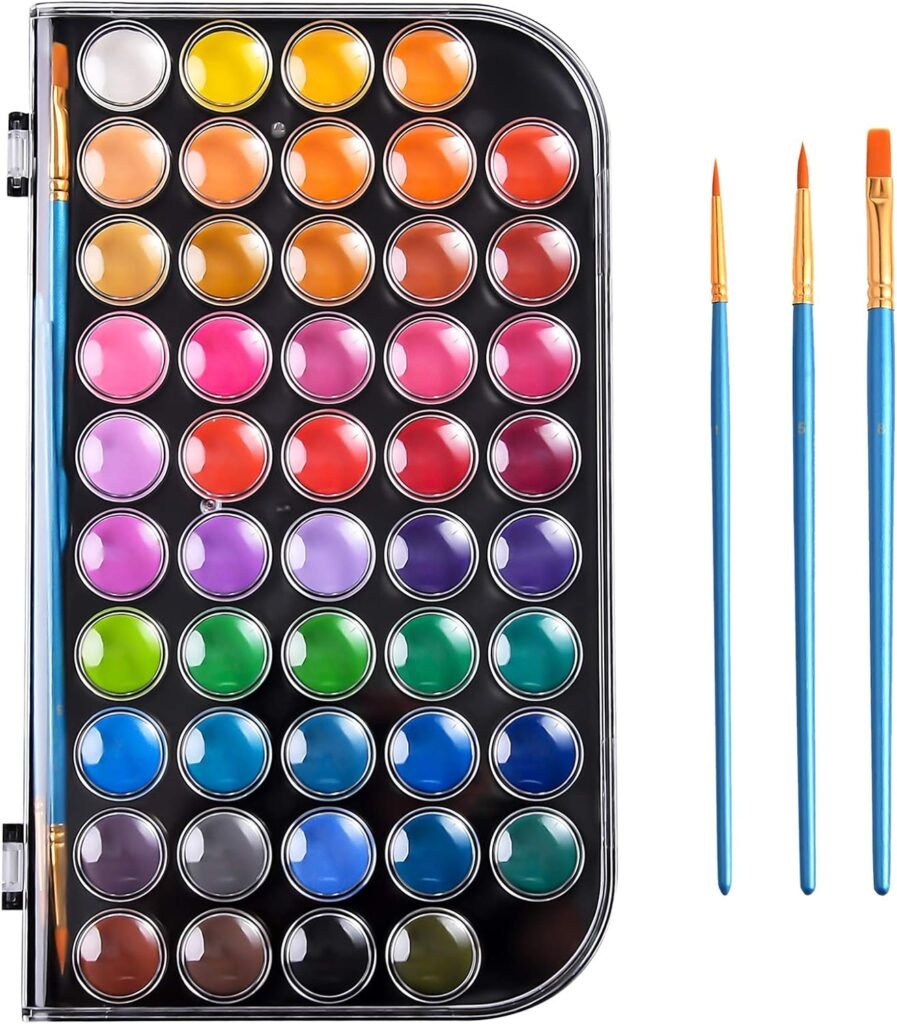
- Watercolor Brushes: A bunch of fine-tipped brushes is great for point-by-point work. Search for brushes marked “round” or “pointed” for accurate painting.
Pencil Tones:
- Hued Pencils: A bunch of great shaded pencils will assist you with adding profundity and aspect to your shark drawing. Search for brands known for their shade quality and mixing capacities.

- Blender Pencil: This can be utilized to smooth and mix shaded pencil layers, creating a clean finish.
Watercolor Paper:
- Assuming you intend to utilize watercolors, it’s fundamental to have watercolor paper that can deal with wet media without distorting. Search for cold-squeezed watercolor paper with a load of something like 140 lb (300 gsm).
Extra Instruments
- Ruler:A ruler can assist you with defining straight boundaries and keeping up with extents in your shark drawing.
Compass:It is helpful for drawing exact circles and bends, which can be convenient for parts of the shark like the eyes and balance shapes.
Mixing Stumps:These are perfect for mixing graphite or shaded pencil to make smooth, practical surfaces.
Veiling Tape:Veiling tape can be utilized to tie down your paper to your drawing surface, keeping it from moving while you work.
Keep your drawing region spotless and coordinated to forestall smircesh and keep a happy workplace.
By putting together these materials and setting up an efficient work area, you’ll be completely ready to make a dazzling shark drawing. Whether you settle on a straightforward pencil sketch or an energetic watercolor work of art, having the right devices will assist you with rejuvenating your imaginative vision.
Step-by-Step Guide to Drawing a Shark
Making a point-by-point and sensible shark drawing can be a rewarding experience. Follow these moves to guide you through the cycle, from outlining the essential shape to adding perplexing subtleties and varieties.
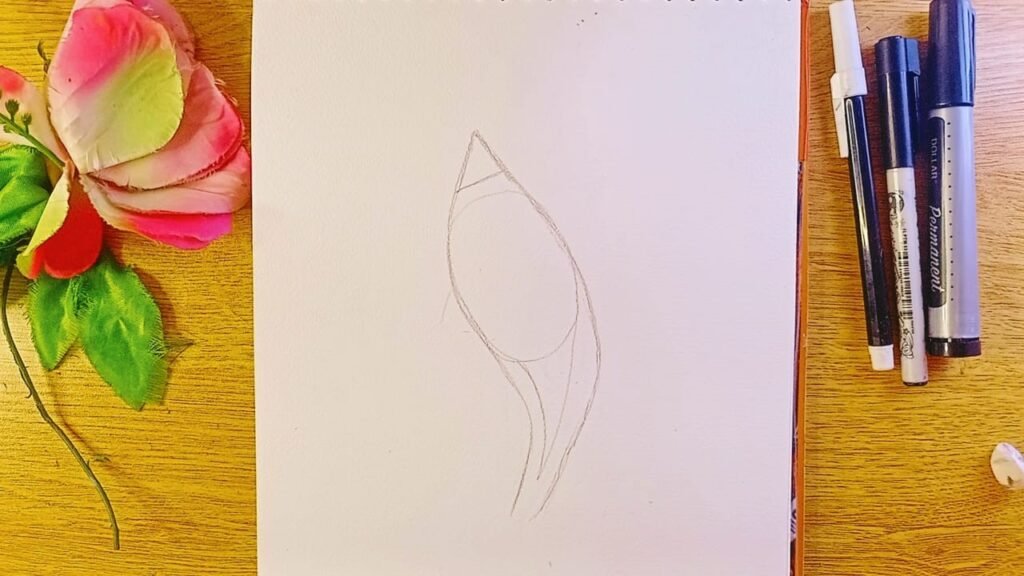
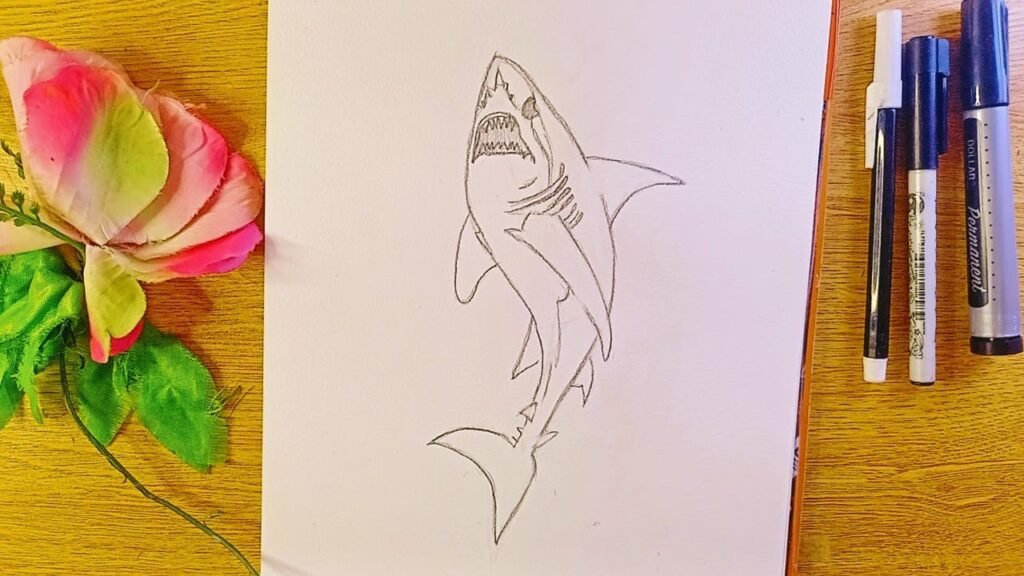
Step 1: Blueprinting the Fundamental Shape
- Draw the body:Begin by drawing a lengthened oval shape that will frame the fundamental body of the shark. Ensure that the smoothed-out state of the shark’s body is somewhat bended.
Add the tail:Toward the end of the oval, draw a flat “V” shape to make the shark’s tail. The tail ought to be even and somewhat bended to imitate the normal state of a shark’s caudal balance.
Draw the head:At the furthest edge of the oval, draw an adjusted, three-sided shape for the shark’s head. Guarantee it easily associates with the body. - Frame the balances:Draw the dorsal balance on top of the shark’s body, found somewhat towards the back. The dorsal balance ought to be three-sided and somewhat bended.
Step 2: Characterize the Highlights
- Eyes and gills:
- Draw a little oval or circle for the shark’s eye on each side of the head. Add a more modest circle inside for the understudy.
Define three- to five-bended boundaries behind the eyes to address the gills.
Mouth and Teeth: - Sketch the mouth as a bended line close to the lower part of the head. Add sharp, three-sided shapes along the edge of the mouth for the teeth, making them somewhat fluctuating in size.
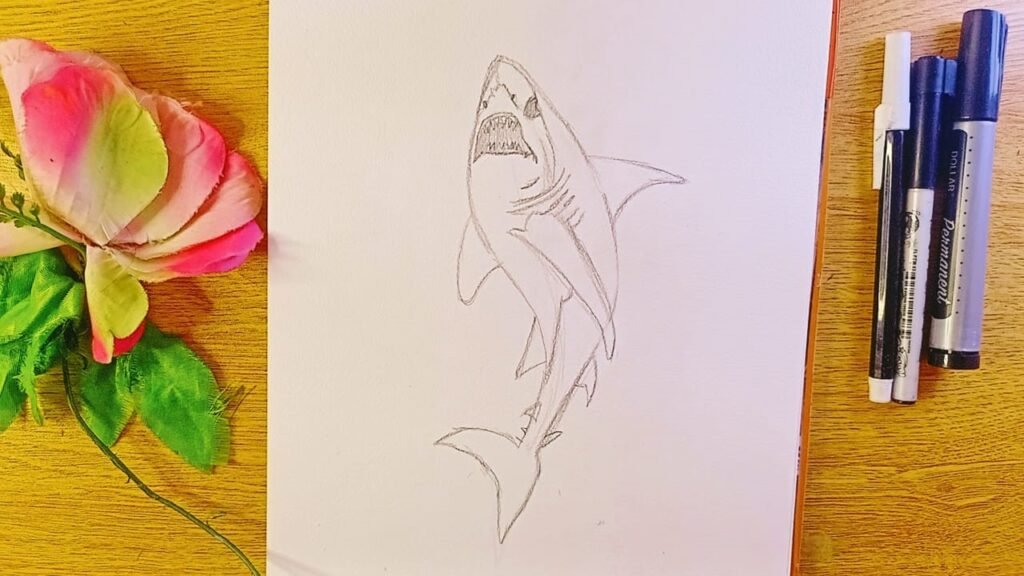
Step 3: Refine the shape
- Smooth the lines:Refine the blueprint of the shark’s body, head, and blades. Make the lines smoother and more characterized, deleting any pointless sketch lines.
Add Surface:Add unpretentious lines and concealment to the shark’s body to give it a more three-layered appearance. Utilize light, bended lines to show muscle design and skin surface. - Detail the eyes:Add a little feature to each eye to give them a similar appearance. Conceal the students to have profundity.
Step 4: Concealing and Itemizing
- Conceal the body:Begin concealing the shark’s body with a light pencil. Conceal the underside of the shark hazier to give it an adjusted, three-layered look. Utilize a mixing stump or your finger to streamline the overshadowing.
Add Profundity to the Balances:Conceal the balances gently, adding more obscure tones where they join to the body and along the blade beams. This will give the balances a more reasonable look.
Upgrade the gills and mouth: - Add hazier concealing inside the gills and mouth to make profundity. Utilize almost negligible differences to demonstrate extra subtleties inside the mouth, like the tongue or internal coating.

Step 5: Adding Variety (Discretionary)
- Base Tone:In the event that you are utilizing watercolors or hued pencils, begin by applying a light base tone to the shark’s body. A light dim or blue dim functions admirably for a reasonable look.
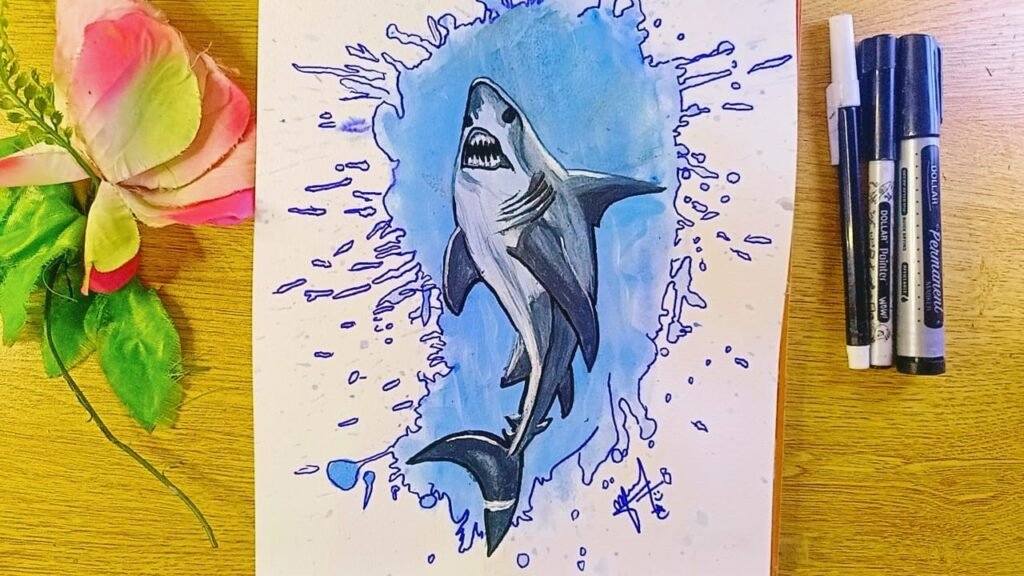
Layering Varieties:Slowly develop the variety by layering various shades. Utilize hazier grays or blues for the concealed regions and lighter tones for the featured regions.
Last Contacts:Add any last subtleties, like unobtrusive spots or examples on the shark’s skin. Utilize a white pencil or paint to add features and make specific regions pop.
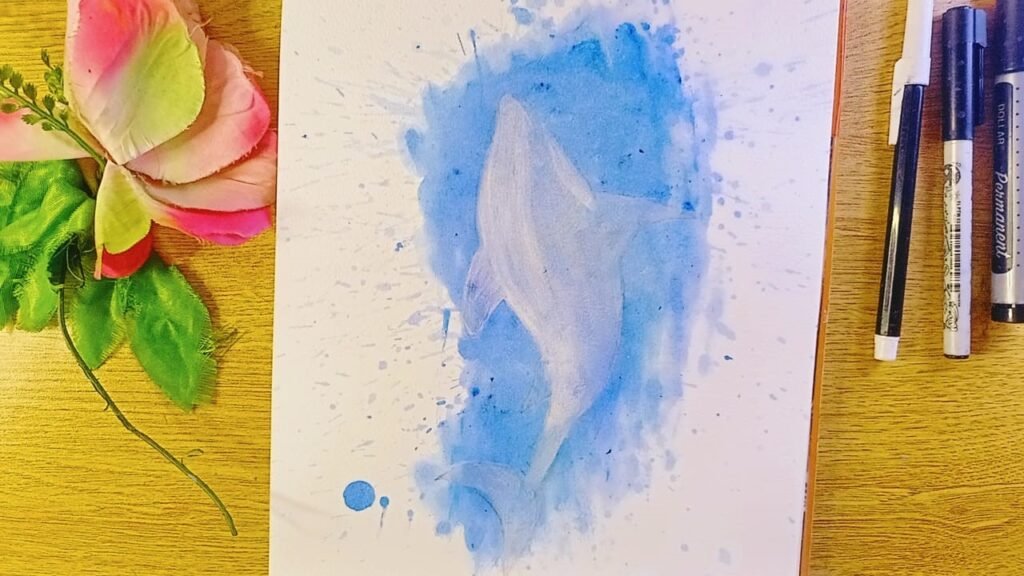
Step 6: Foundation (Discretionary)
- Frame the Foundation:Sketch a basic submerged foundation whenever wanted. This could incorporate components like waves, ocean growth, or other fish.
Variety in the Foundation:Apply a light wash of blue to the water. Add more obscure blues and greens for profundity, and utilize various shades to demonstrate the water’s development.
Detail the climate:Add last contacts to the foundation, for example, bubbles, light beams sifting through the water, and other amphibian subtleties. This can add settings and make the drawing more powerful.

Step 7: Last Audit
- Check for subtleties:Survey your drawing for any areas that might require extra detail or refinement. Guarantee that the concealment is smooth and the lines are perfect.
Fix any errors:Utilize an eraser to address any errors and a pencil to refine any lines that need honing.
Sign Your Craftsmanship:Remember to sign your drawing! This adds an individual touch and denotes the fruition of your work of art.
By following these means, you’ll have the option to make a nitty-gritty and sensible shark drawing that exhibits your imaginative abilities. Make your experience with each stride, and feel free to explore different avenues regarding various strategies to accomplish the ideal impact. Cheerful drawing!
Tips for a Perfect Shark Sketch
Making an ideal shark sketch expects tender, loving care, practice, and the right procedures. Here are a few hints to assist you with accomplishing a sensible and great shark drawing:
Concentrate on shark life structures.
Get to know the general shape and extent of a shark. See how the body tightens towards the tail and how the blades are situated. Realizing these subtleties will assist you with drawing a more precise and reasonable sketch.
Research various species:
Different shark species have shifting shapes and highlights. Pick a particular animal variety to draw on and concentrate on its extraordinary qualities, like the state of its balance, head, and body.
Utilize quality materials.
Utilize excellent drawing paper that can deal with eradicating and concealing. A smooth surface is great for pencil portrayals, while somewhat finished paper functions admirably with hued pencils or watercolors.
Select the appropriate pencils:
Utilize a scope of graphite pencils (e.g., HB, 2B, 4B) for various concealing methods. Gentler pencils (like 4B) make more obscure lines, while harder pencils (like HB) are perfect for lighter lines and subtleties.
Begin with Fundamental Shapes:
Start your sketch by attracting basic shapes to frame the shark’s body, head, and balance. Utilize light, free lines to outline the extents and situation of each part.
Assemble Progressively:
Refine your sketch step by step by adding more subtleties and characterizing the shapes. Try not to rush; take as much time as necessary to guarantee the extents and points are exact.
Practice Routinely:
The more you practice, the better your portrayals will turn out. Try different things with various methods and styles to find what turns out best for you.
By following these tips, you can further develop your shark portrayal abilities and make dazzling, practical drawings. Practice routinely and show restraint toward yourself as you foster your method. Blissful drawing!
What to Avoid During a Shark Sketch
Making a shark sketch can be both charming and testing. To guarantee a fruitful drawing, there are a few normal errors you ought to keep away from:
Overlooking Extents:
One of the most widely recognized botches is dismissing the right extent of the shark’s body. Sharks have a particular shape with a smoothed-out body, a conspicuous dorsal blade, and obvious pectoral balances. Disregarding these extents can bring about a ridiculous sketch. Take as much time as is needed to concentrate on the life structures of the shark and ensure each part is in the right proportion to the remainder of the body.
Overcomplicating the Underlying Representation:
Try not to become involved with an excessive number of subtleties initially. Begin with straightforward shapes to frame the fundamental construction of the shark. Zeroing in on many-sided subtleties too soon can overpower you and make it harder to change the general structure if necessary. Keep the underlying portrayal light and straightforward, adding subtleties bit by bit as you refine the drawing.
Utilizing weighty lines:
Beginning with weighty lines can make it challenging to address errors. Utilize light, free strokes at first, permitting you to eradicate and change on a case-by-case basis without leaving blemishes on the paper. Whenever you are happy with the essential diagram, you can go over it with hazier, more characterized lines.
Ignoring Concealing and Surface:
Concealing and surface are pivotal for making a practical shark sketch. Stay away from level, uniform overshadowing, and, on second thought, use inclinations to give the shark a three-layered look. Focus on the heading of the concealing to emulate the shark’s regular skin surface. Dismissing these components can cause your attraction to show up level and dead.
Failing to remember the light source:
Continuously lay out a predictable light source in your drawing. This will direct your overshadowing and assist with making a more reasonable picture. Overlooking the light source can bring about conflicting shadows and features, making the sketch look unnatural.
Skipping Reference Pictures:
Depending exclusively on memory or the creative mind can prompt errors. Use reference pictures of genuine sharks to direct your drawing. This will assist you with catching the extraordinary elements and subtleties that make sharks unmistakable and reasonable.
Exhausting the drawing:
It’s not difficult to overdo it with subtleties, yet exhausting your drawing can make it look jumbled and muddled. Know when to pause, and try not to add superfluous components. In some cases, toning it down would be best.
Absence of Persistence:
Hurrying the sketch can prompt missteps and dissatisfaction. Make your experience with each stride, from the underlying layout to the last overshadowing and subtleties. Persistence is critical to completing a clean and precise shark drawing.
By keeping away from these normal traps, you can work on your strategy and make a shocking shark sketch that catches the pith of these great animals.
FAQs
1. What are the essential moves to begin drawing a shark?
Start with basic shapes to frame the shark’s body, head, and blades. Then, at that point, refine these shapes into additional, precise layouts. Add subtleties like eyes, gills, and teeth. At long last, add concealment and surface to rejuvenate the drawing.
2. What materials do I really want for a shark drawing?
Essential materials incorporate drawing paper, a scope of graphite pencils (HB, 2B, 4B), erasers (manipulated and vinyl), a sharpener, and a ruler. For shaded drawings, utilize hued pencils or watercolors, watercolor paper, brushes, and a range of.
3. How might I make my shark drawing look practical?
Focus on the extents and the life structures of the shark. Use reference pictures to catch precise subtleties. Apply concealing and surface to make a three-layered look, and guarantee a predictable light source to direct your overshadowing.
4. What are normal errors to keep away from while drawing a shark?
Abstain from dismissing extents, utilizing weighty lines too soon, skipping reference pictures, and workaholic behavior in the drawing. Likewise, guarantee you lay out a light source and apply concealing accurately to keep away from a level appearance.
5. How might I add profundity and aspect to my shark drawing?
Use concealing procedures to create light and dim regions, giving the drawing a three-layered impact. Steadily develop layers of concealment and mix them easily. Focus on the surface and shapes of the shark’s body.
6. Would it be a good idea for me to utilize a reference picture while drawing a shark?
Indeed, utilizing a reference picture is strongly suggested. It helps catch precise extents, subtleties, and surfaces. Reference pictures are a visual aid; they are practical and point-by-point to guarantee your drawing.
7. How would I draw the shark’s teeth precisely?
Sketch the teeth as little, sharp triangles along the edge of the mouth. Fluctuate the size and disperse marginally to make them look more normal. Utilize scarce differences to add subtleties and concealment to give the teeth profundity and aspect.
8. How might I add tone to my shark drawing?
Begin with a light base tone, normally dim or blue-dim, and slowly layer various shades for profundity. Utilize more obscure tones for concealed regions and lighter tones for features. Mix the varieties easily to keep away from cruel lines, and add the last subtleties with a white pencil or paint for features.
Conclusion
Drawing a shark can be a fulfilling and pleasant experience, whether you’re a novice or an accomplished craftsman. By figuring out the life structures of sharks, utilizing the right materials, and following an efficient methodology, you can make a sensible and noteworthy sketch. Make sure to begin with essential shapes, refine your lines, and add subtleties steadily. Give close consideration to concealing and surface to give your drawing profundity and aspect. Stay away from normal slip-ups, for example, overlooking extents and workaholic behavior while drawing. Utilizing reference pictures can enormously improve the exactness and authenticity of your sketch. With training and tolerance, you can become amazing at drawing sharks and make dazzling fine art that exhibits these sublime animals. In this way, snatch your drawing devices, follow these tips, and jump into the innovative flow of outlining a shark. Cheerful drawing!